Single-Leg Glute Bridges: How to Do It, Muscles Worked & Benefits
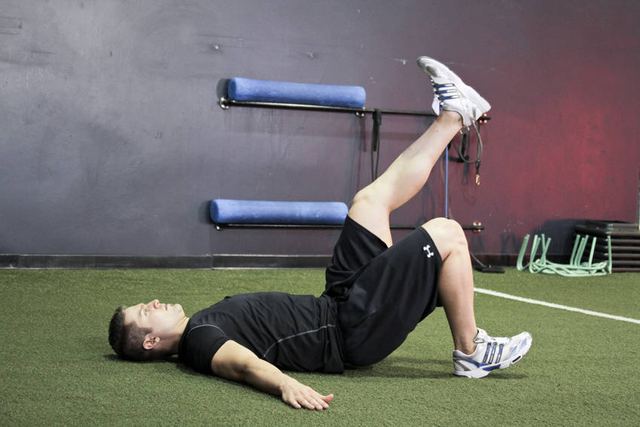
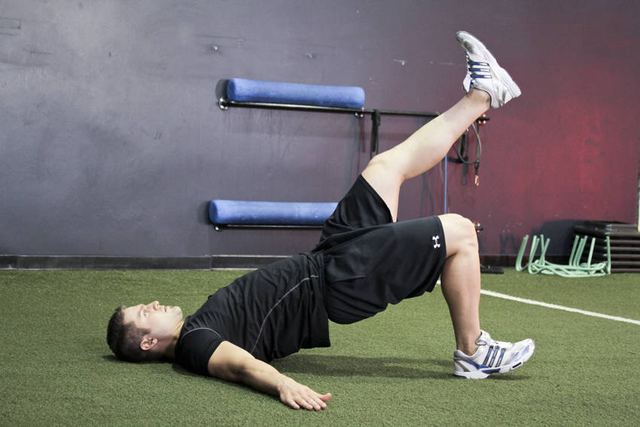 Animated demo
The single-leg glute bridge doubles the load on each glute without weights. It also challenges hip stability and is great for fixing strength differences between sides.
What is the single-leg glute bridges?
The single-leg glute bridge doubles the load on each glute without weights. It also challenges hip stability and is great for fixing strength differences between sides.
The single-leg glute bridges is beginner-friendly and a isolation movement. Isolation exercises move one main joint, which lets you focus on a specific muscle, fix weak points and add extra training volume without tiring the whole body. You can do it at home with no or minimal equipment, which makes it easy to fit into almost any routine.
Muscles worked
The main muscles trained by the single-leg glute bridges are the glutes, with help from the hamstrings.
Glutes (primary)
The glutes (gluteus maximus, medius and minimus) are the largest and strongest muscles in the body. They extend and rotate the hip, power sprinting and jumping, support the lower back and shape the hips.
Hamstrings (secondary)
The hamstrings run down the back of the thigh. They bend the knee and extend the hip. Strong hamstrings protect the knees and balance out the quads.
How to do the single-leg glute bridges: step by step
- Lay on the floor with your feet flat and knees bent.
- Raise one leg off of the ground, pulling the knee to your chest. This will be your starting position.
- Execute the movement by driving through the heel, extending your hip upward and raising your glutes off of the ground.
- Extend as far as possible, pause and then return to the starting position.
Coach’s note: Practice the first sessions with a light load or an easier variation. Perfect technique first, then add reps, then add weight.
Benefits of the single-leg glute bridges
- Twice the challenge of a regular bridge
- Fixes left-right imbalances
- Improves hip stability
- Excellent home glute builder
Like all resistance training, the single-leg glute bridges also contributes to the general health benefits of strength work: stronger bones, better blood-sugar control, improved mood and a higher resting metabolism over time. The U.S. Physical Activity Guidelines recommend muscle-strengthening activities for all major muscle groups on two or more days per week for adults.
Common mistakes to avoid
- Hips tilting to one side
- Arching the lower back
- Pushing through the toes
- Rushing reps
Most of these mistakes happen when the weight is too heavy or when you rush. Film one set from the side with your phone. It is the fastest way to spot form problems without a coach.
Form tips from a trainer
- Keep the hips level as if balancing a glass of water on them
- Drive through the heel of the working leg
- Hold 1–2 seconds at the top
- Do the weaker side first
How to breathe
Breathe in as you lower the weight or your body (the easier phase) and breathe out as you push. For heavy sets, take a big breath into your belly before the rep, brace your core, and breathe out near the end of the push.
Sets and reps by fitness level
| Level | Sets × reps | Rest | Frequency |
|---|---|---|---|
| Beginner | 2 × 8 per leg | 60–90 sec | 2× per week |
| Intermediate | 3 × 12 per leg | 60–120 sec | 2× per week |
| Advanced | 4 × 15 per leg | 90–180 sec | 2–3× per week |
Choose a load or variation where the last 1–3 reps of each set feel hard but your form stays clean. When you can do the top of the rep range for every set, make it harder: add weight, add reps, slow the tempo or move to a harder variation. This is called progressive overload, and it is the main driver of strength and muscle gains.
Easier and harder variations
Make it easier
Make it harder
- Foot on a bench
- Add a dumbbell on the hip
Single-Leg Glute Bridges for men and women
The technique of the single-leg glute bridges is the same for men and women. The difference is in programming. Men often aim for more upper-body size and use heavier loads with lower reps, while many women prefer more lower-body and glute volume and moderate loads with higher reps. Both approaches work. Muscle responds to effort and progressive overload regardless of gender, and women typically recover a little faster between sets.
You will find this exercise in these HelloMyTrainer programs:
- Men's Intermediate Home Workout (Dumbbells + Pull-Up Bar)
- Advanced Home Workout for Men (Push / Pull / Legs + Conditioning)
- Women's Intermediate Home Workout (Glutes, Toning & Strength)
- Advanced Home Workout for Women (Glute Builder + HIIT)
Safety tips
- Warm up for 5–10 minutes before your first working set: light cardio plus a few easy reps.
- Stop immediately if you feel sharp, stabbing or joint pain. Muscle burn is normal; pain is not.
- If you have an injury, are pregnant, or have a heart, blood-pressure or joint condition, ask your doctor or a physical therapist before doing this exercise.
- Make sure benches, chairs, steps and bars are stable and can hold your weight.
Frequently asked questions
What muscles does the single-leg glute bridges work?
The single-leg glute bridges mainly works the glutes, with the hamstrings helping.
Is the single-leg glute bridges good for beginners?
Yes. It is a beginner-friendly exercise. Start with the beginner sets and reps above and focus on clean technique.
How many sets and reps of the single-leg glute bridges should I do?
Beginners: 2 × 8 per leg. Intermediate: 3 × 12 per leg. Advanced: 4 × 15 per leg. Train each muscle group about twice per week.
Can I do the single-leg glute bridges at home?
Yes, it needs little or no equipment.
How often should I train with the single-leg glute bridges?
Two to three times per week is ideal for most people, with at least 48 hours between hard sessions for the same muscle group.
Related exercises
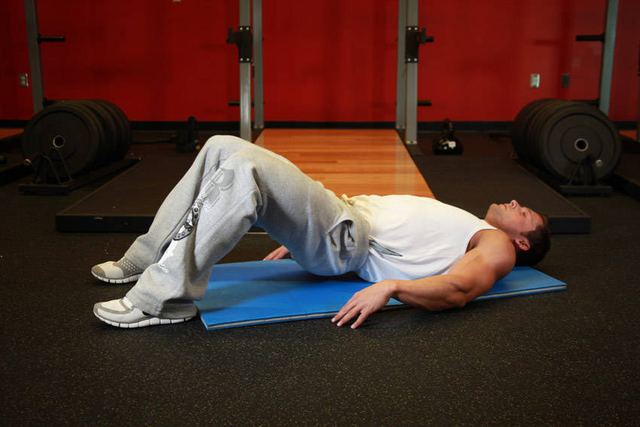
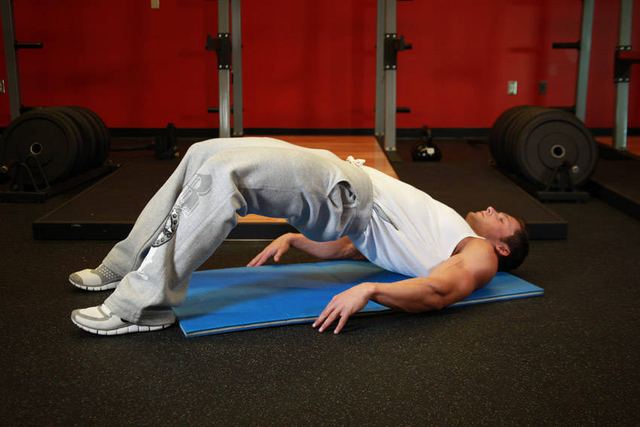 Animated demo
Glute Bridges
The glute bridge is one of the best exercises for building and activating the glutes.
 Animated demo
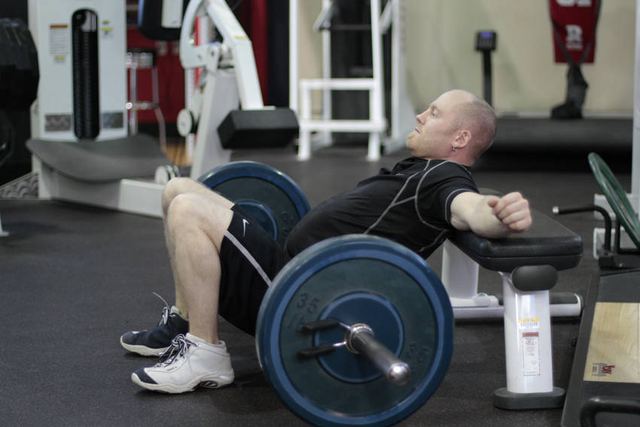
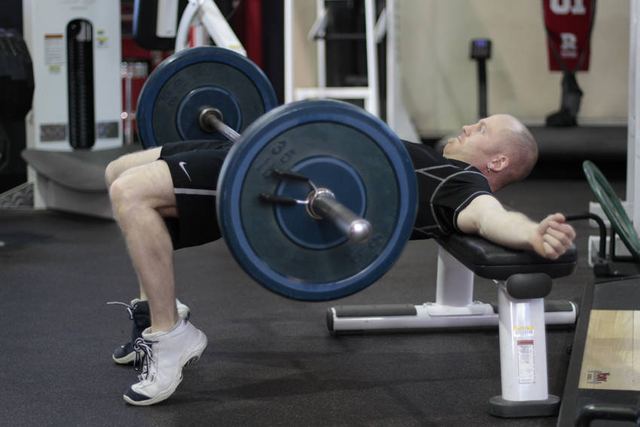
Barbell Hip Thrusts
The hip thrust is the number-one glute-building exercise in the gym.
 Animated demo
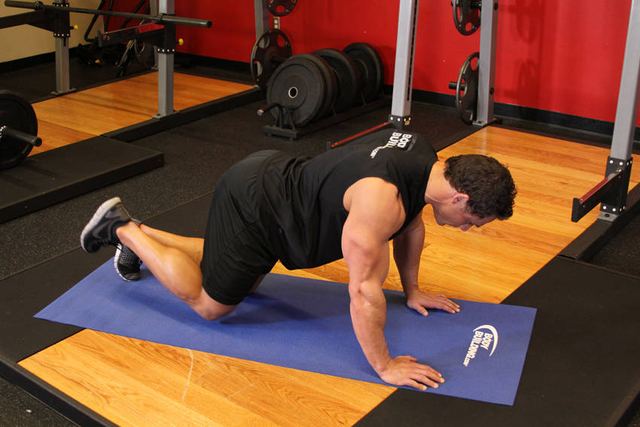
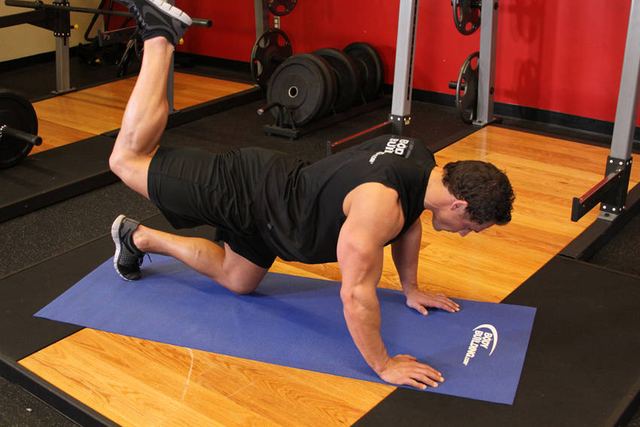
Donkey Kicks (Glute Kickbacks)
Donkey kicks are done on all fours: you kick one leg back and up while keeping the knee bent.
 Animated demo
Flutter Kicks
Flutter kicks are done lying on your back with the legs straight, kicking up and down in small fast movements.